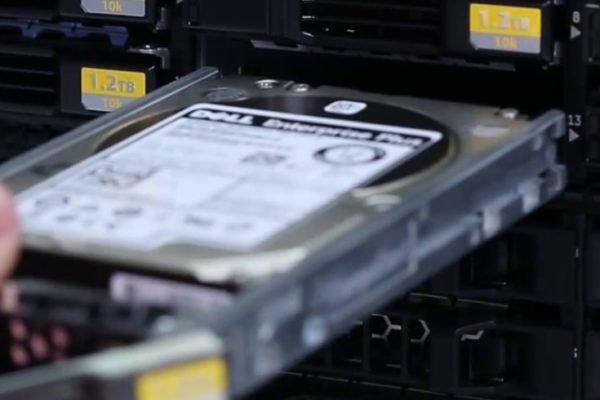
Adding disks to Azure virtual machines is common scenario but we some time have to detach or delete the disks too.
Removing a disk will require following simple steps in the Azure Portal :
1. Login to portal.azure.com with an Administrator account
2. Find the Virtual Machine you’d like to remove a disk from.
3. When you’ve found your virtual machine, click on “Disks”

4. Click “Edit” on your VM disks screen on the top

5. Once you click on edit, context menu for the data disk becomes available, its these three dots. Click on detach and hist save on the top to save changes. This will remove the disk from the machines and any files or shares will not be reachable which were saved on this disk.

Important: You can click the disk name to review the resource information. OS Disks cannot be removed as it would render the VM non-functional.
6. Login to the VM you’ve detached the disk from to confirm the disks look as expected (your disk that is to be deleted is not present)
Important : detaching the disk from VM or even deleting the VM doesn’t delete the disk or any other VM components such as network, IP and disk. You will need to delete them separately if you don’t need to reuse them.
7. Search for the disk and delete it.


